Baking Analog Audio Tapes
01/06/2021
I was recently asked about the technique I use to restore archival tapes for transfer so here it is!
FIRST SOME BACKGROUND:
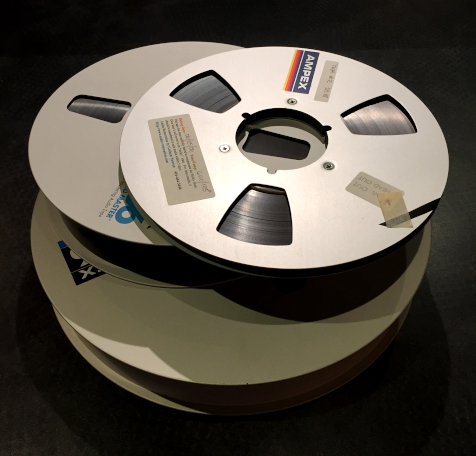
There is a basic problem with analog recording tape that started in the late 1970s. Without knowing it, the manufacturers began making their best mastering tapes with formulas that were hydroscopic, meaning that they absorbed moisture. It occurred in 3M Scotch tape, Ampex, and even in Agfa Gevaert tape. The tapes absorbed the moisture from the air around them into the binder, the adhesive that holds the oxide or the back-coating onto the tape. This happened whether or not they were stored in temperature and humidity-controlled environments. The absorbed moisture causes two problems: Firstly, the binder breaks down and ceases to hold the oxide and back coating firmly. And secondly, the binder begins to ooze. This is called "sticky shed syndrome." A tape with that condition will ooze adhesive onto the heads and guides. As the tape passes the heads and guides, the binder adheres to the non-moving parts and then attracts the loosened oxide. The tape will quickly begin to squeal and then shudder and then eventually stop down the transport. The problem isn't just a nuisance, though it is that because of the major cleanup required, the problem is that the squeal, shudder, and stoppage are the symptoms of a tape that is self-destructing. Back before I understood the problem I had tapes that would only play for two or three seconds before bringing the transport to a shreiking halt. These days I simply refuse to mount a tape from that period that hasn't been treated, for the sake of the tape, the transport, and my professional reputation.
THE SOLUTION: GO ALL BETTY CROCKER
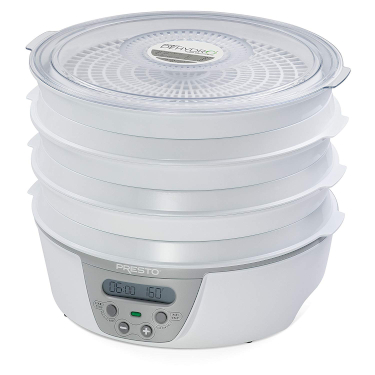
So, what to do? Thank goodness 3M Corporation assigned a team to study the problem and they came up with a solution. My techniques are based upon their solution. First, remove the tape reel from box and bag. The recipe' from 3M for baking a 1/4" master tape calls for heating it at 130 degrees for six to eight hours. You can bake it in a regular oven but the best method engineers have found so far is to bake it in a food drier. In a food drier, the heat is more consistant and the moisture is forcefully carried away. Always do this outside, because the process out-gasses noxious fumes. When one of our team has baked tapes in a conventional oven, he placed a sheet of cardboard on the center rack and placed the reel on that sheet. In either the oven or food drier we perform the heat cycle and then let the reel cool to room temperature in place, without moving it. This allows things to cool gradually, without a shock. It also allows a plastic reel to cool while being supported to prevent warpage.
After cooling, package up the tape in a plastic bag, seal it, and place it back in the box. Store the tape in a cool, dry place until transfer time. You've got thirty days to transfer the tape before it is rendered unusable again. After that time elapses you'll have to repeat the baking process.
To transfer the tape:
Clean the entire tape transport including the heads, guides, capstan, and pinch roller. If you get as much as a speck on the heads you can experience reduced fidelity. One micron of space between the head and the tape causes high-end drop-off. Any oxide on guides, capstan, and pinch roller can be transferred to the tape and then to the heads.
After that, mount the tape on the clean machine and run the tape through in "pack mode," basically twice playback speed. If pack mode isn't available, play the tape through without reproducing it. In either case, when you get to the other end, clean the machine thoroughly again. If you are using the play method, turn the tape over and play it through again without reproducing. Why? Tapes often end up poorly packed through shrinking and swelling over time and also from being dropped. By exercising the tape you end up with a consistent pack on the reel before you play back, giving a more consistent playback speed. Tapes stored "tails out" need only be run back to the head. Tapes stored "heads out" will require you to go the whole length and back again (to get to the head).
Finally, before playing back, completely clean the machine again. Now you are ready to transfer your tape. I won't get into EQ'ing the machine to the incoming tape as most people aren't used to the process.
So, there you go. Using this technique you should be able to recover and transfer the tape.
= =
=